Producing Professional Tattoo Designs
A design preview can help you discuss an idea before committing to a finished composition. These five steps focus on a clear, editable mockup. The preview communicates a proposal; it does not guarantee how a tattoo will look on skin.
1. Start with a suitable reference
Use your own photograph or one you have permission to use. If it shows another person, agree how it will be used and shared. Take a clear view of the intended area and keep the original unchanged.
2. Develop the composition
Use original artwork or reference material you have permission to incorporate. Try a few arrangements, keeping separate elements editable. Compare the main shapes, spacing and focal point before adding smaller details.
3. Save the working file
Keep an editable version as well as an exported review image. Use clear file names so you can return to an earlier arrangement when discussing changes.
4. Prepare the overlay
The Skinart transparent-image tool is available for exploring a design overlay. Inspect the output before using it: check that important pale details have not disappeared and that the edges are suitable for your preview.
5. Review the mockup together
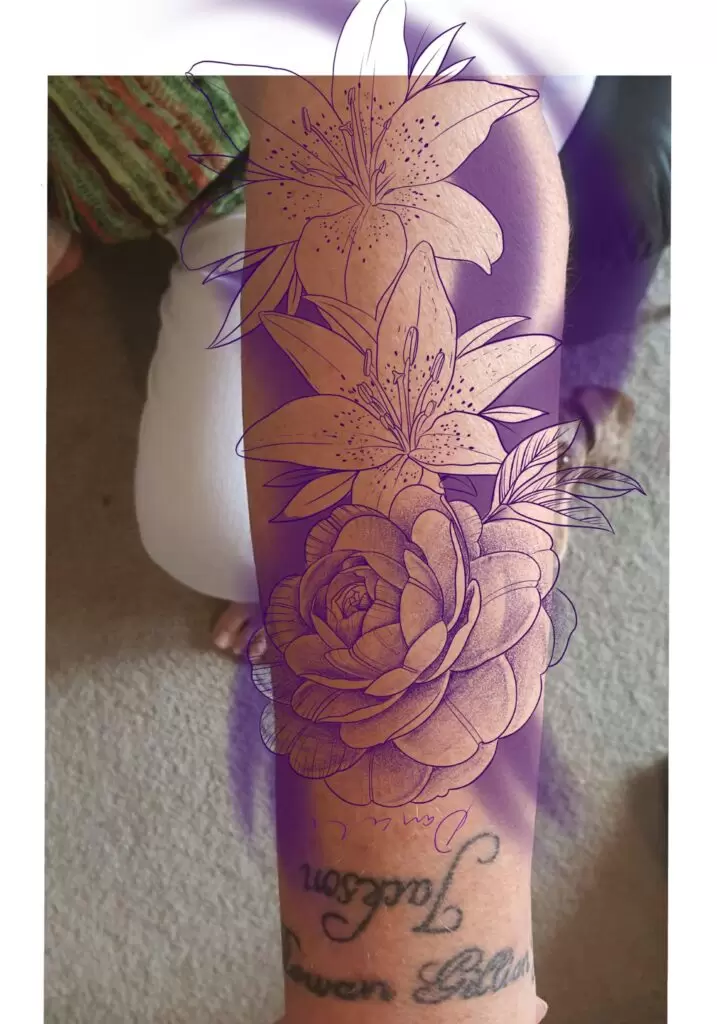
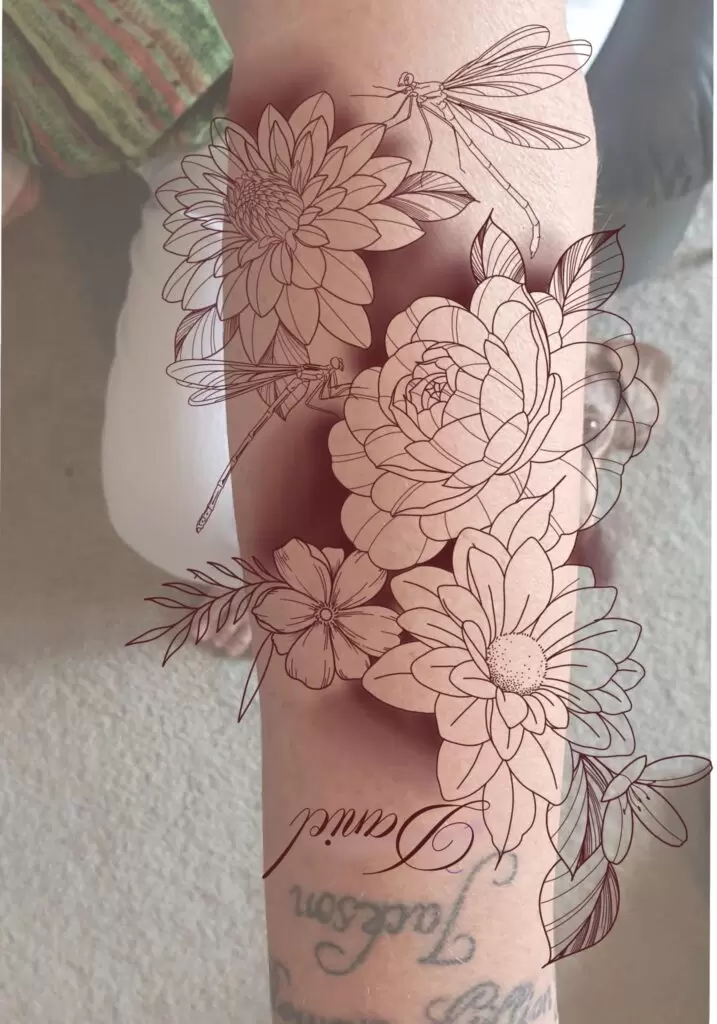
Place the design over the reference photograph in your design software and adjust its scale for discussion. Explain what the preview shows and what still needs to be confirmed. Keep notes on requested changes rather than treating the first mockup as approval.
Examples from the archive
Continue your design study
Explore simplifying a design and creating a paper trace. For structured learning, compare the tattoo curriculum with the current South African online tattoo course.